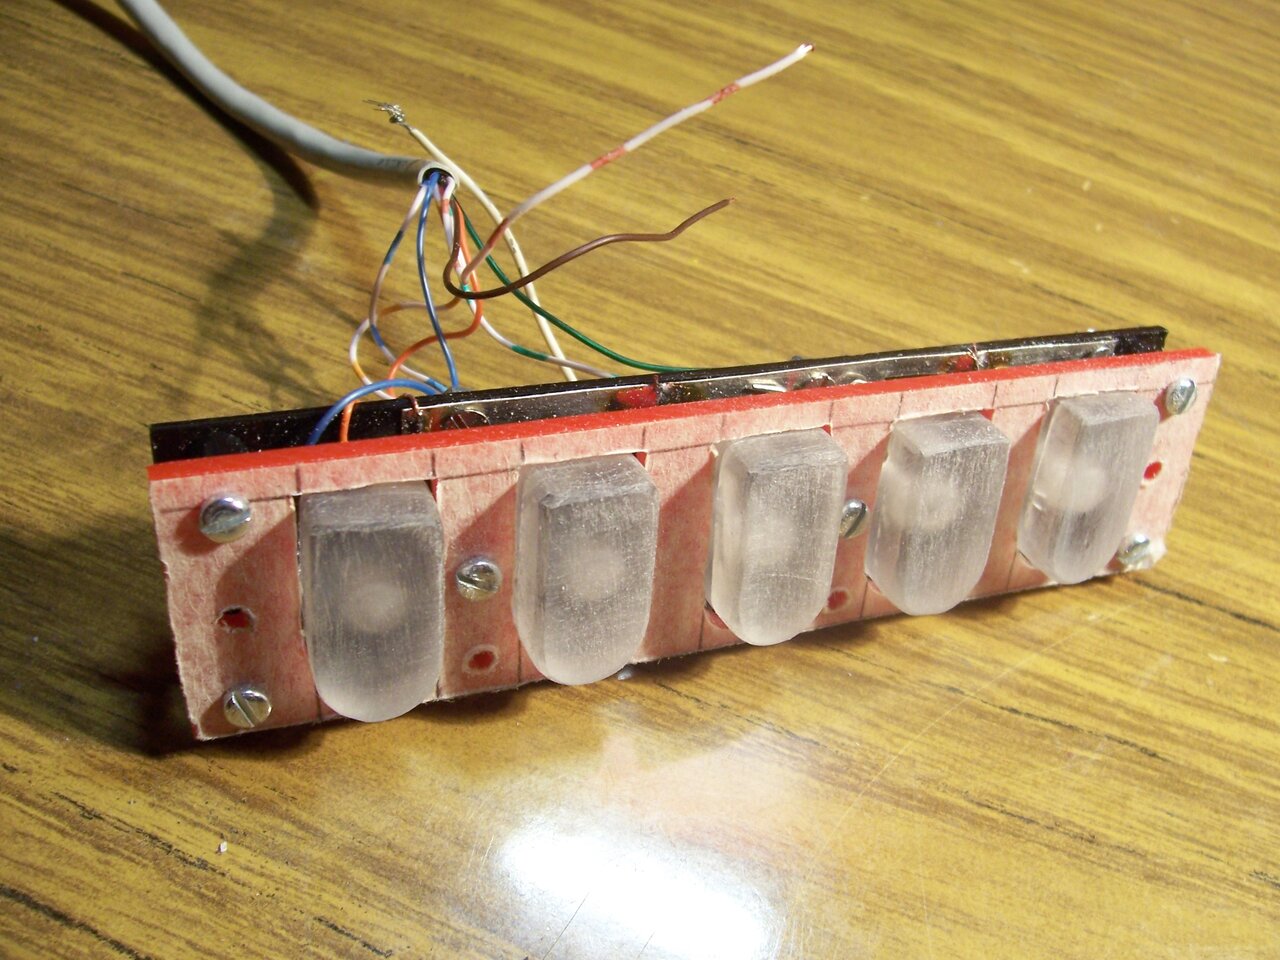
Homemade Guitar Hero / Frets on Fire controller how to
- Homemade Guitar Hero / Frets on Fire controller how to
- Part 1 - The Beginning
- Part 2 - Buttons
- Part 3 - More buttons
- Part 4 - The Body
- Part 5 - Completion
- Part 6 - Time to play
- Part 7 - Rock on
Part 3 - More buttons
Part 3 - More buttons
To finish the button block I only had to make the backlit and to solder all cables. For contact plate of the LEDs I used this sheet of tin:
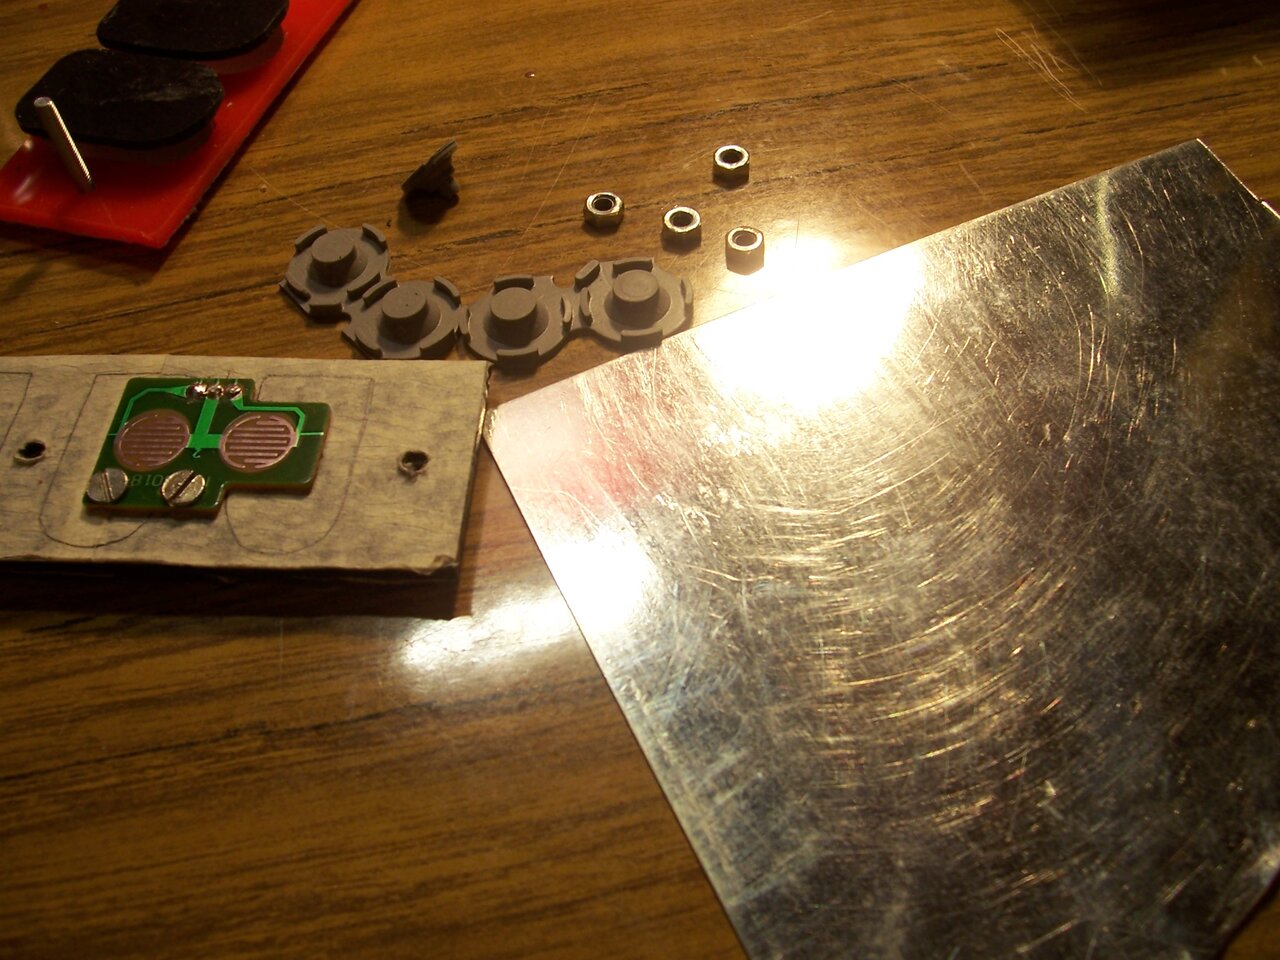
This metal plate will be common ground for the buttons and also contact surface for the LEDs:
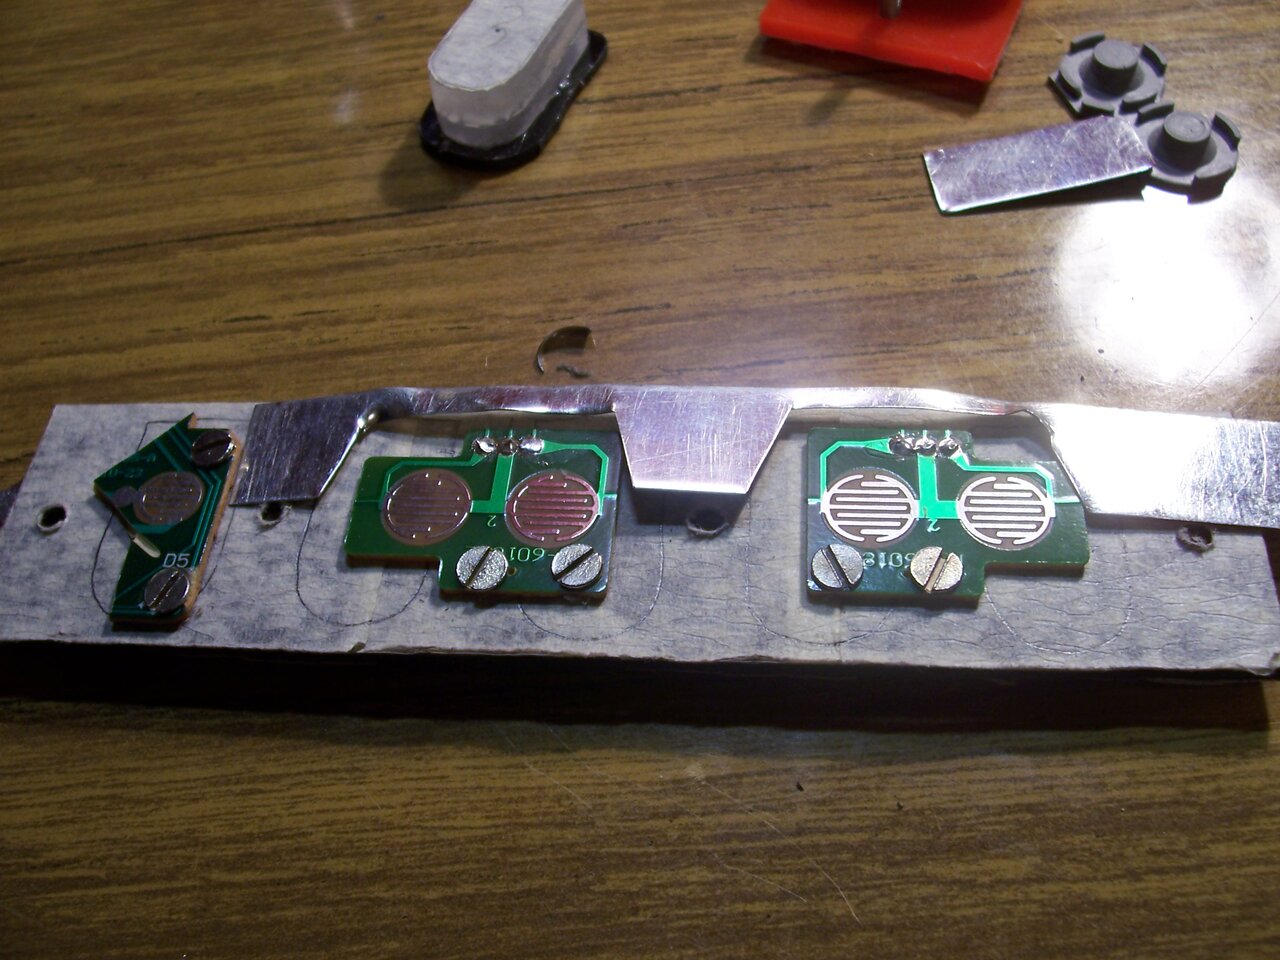
Soldering and the back plate altogether are ready:
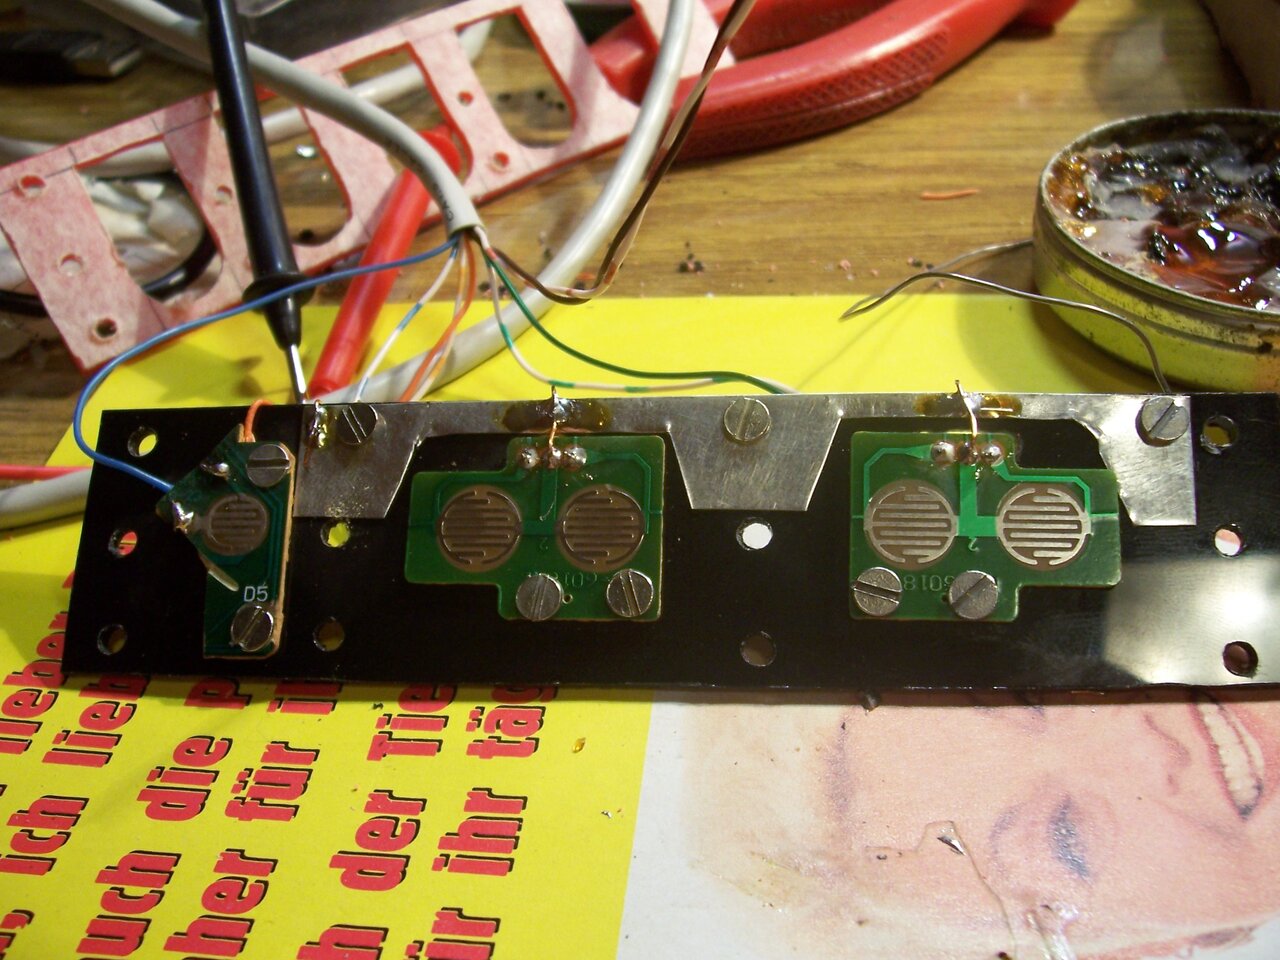
Now I have to make the mounting holes for the LEDs. The easiest way to do this is to drill a hole in the button and hot glue the LED inside. The electric tape on the drill bit is to margin the depth of the holes:
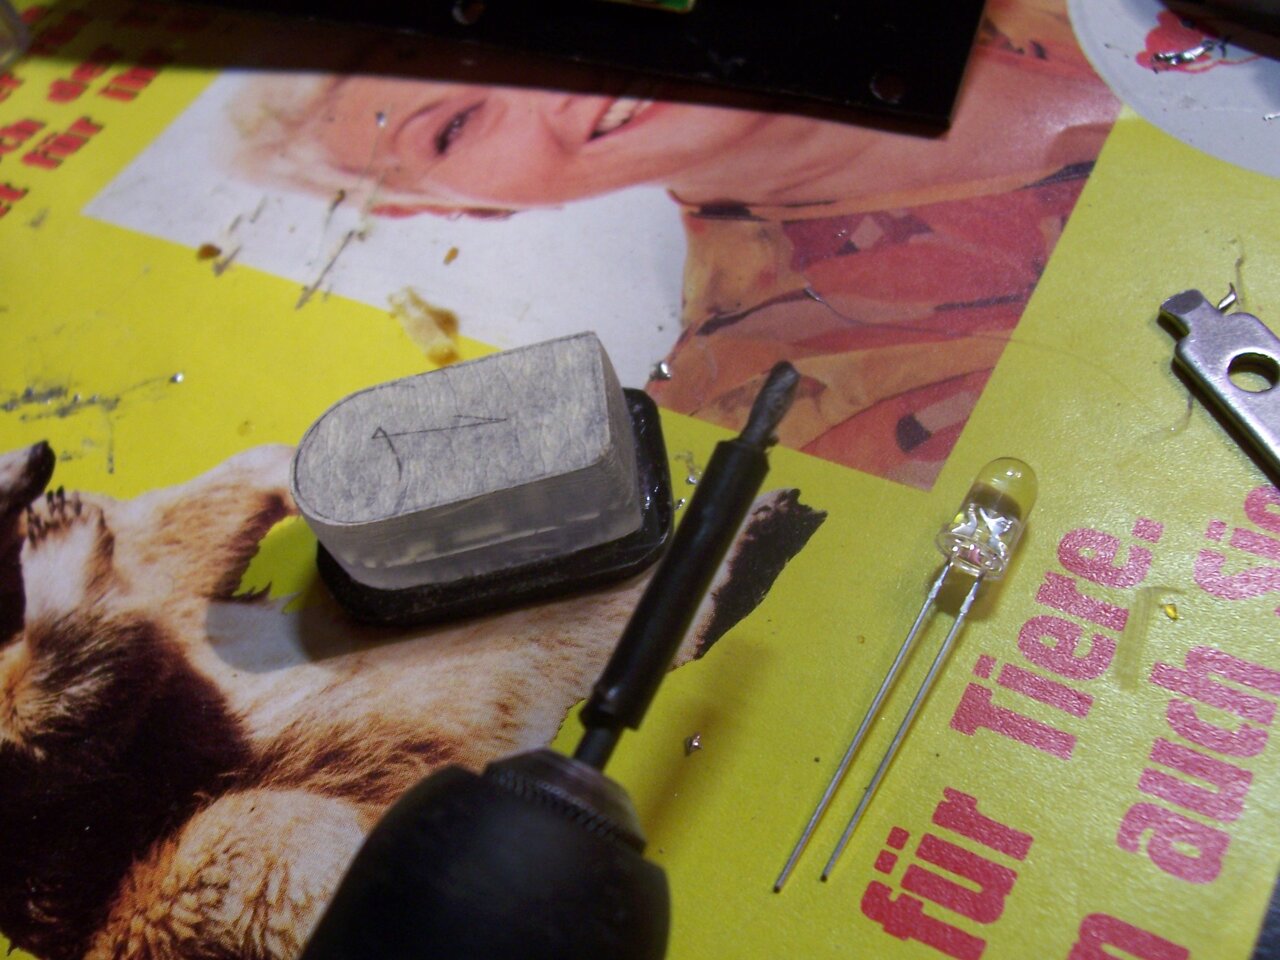
All holes are drilled:
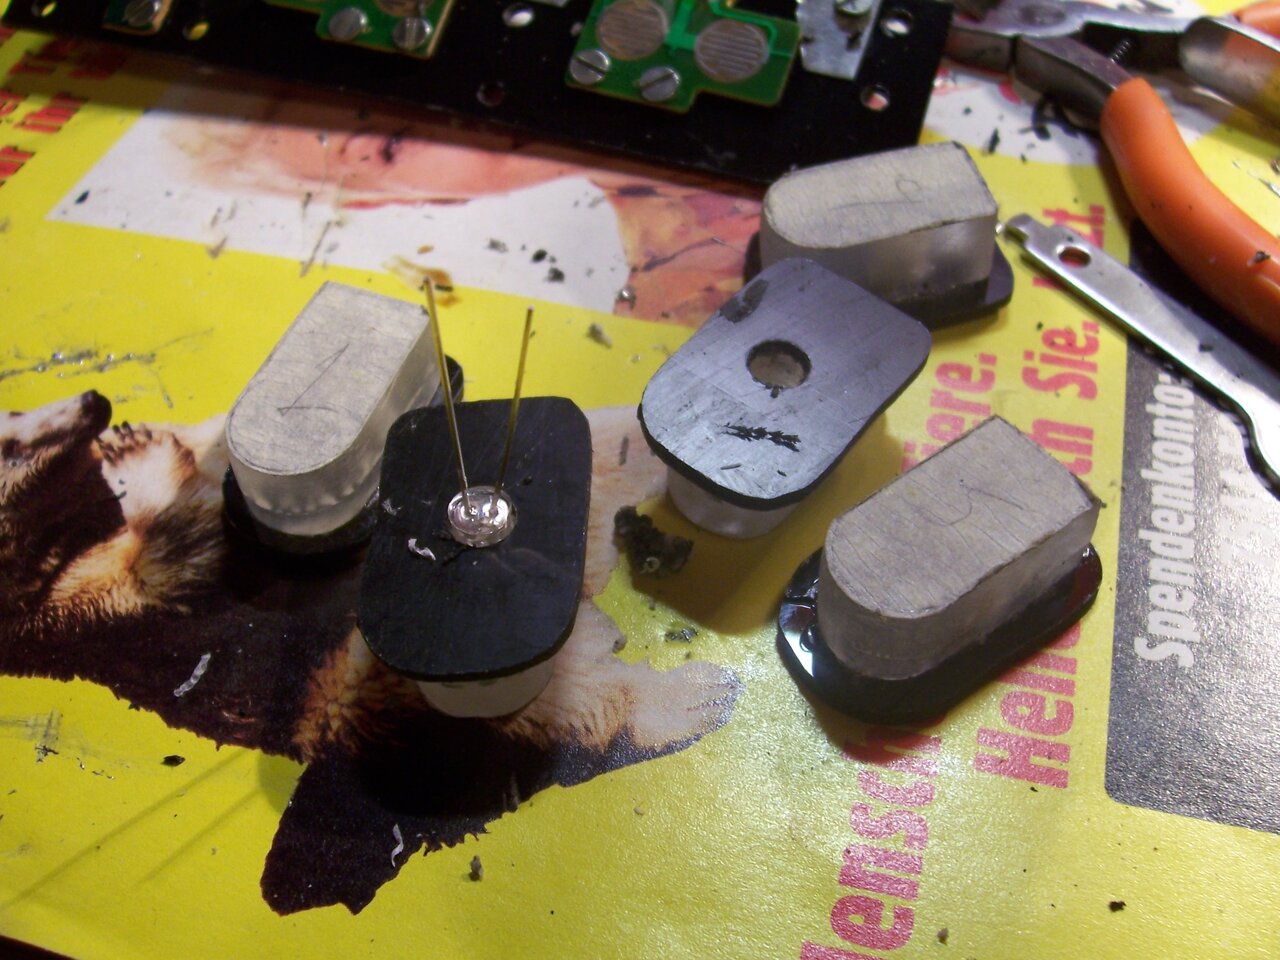
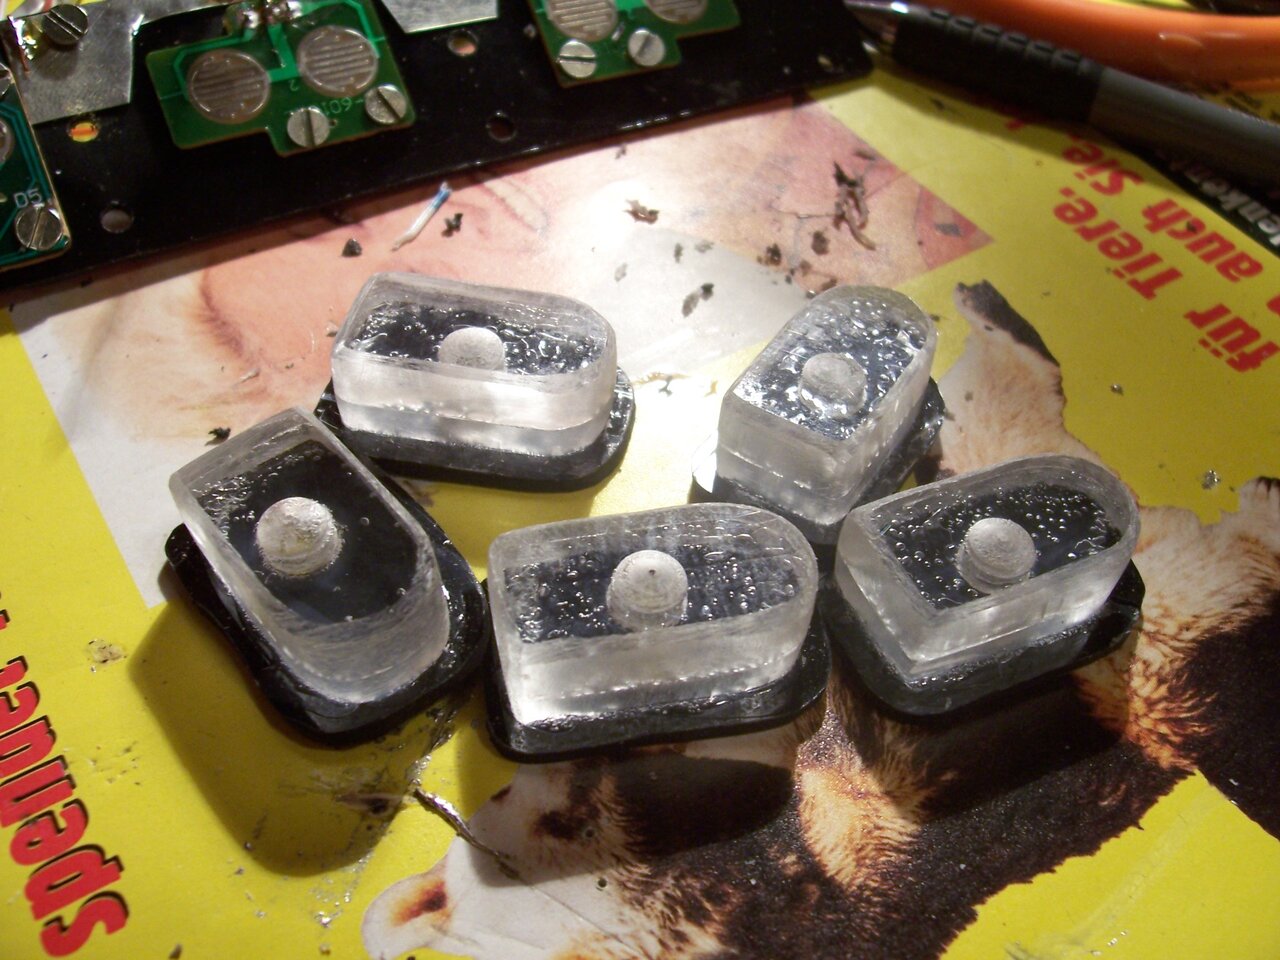
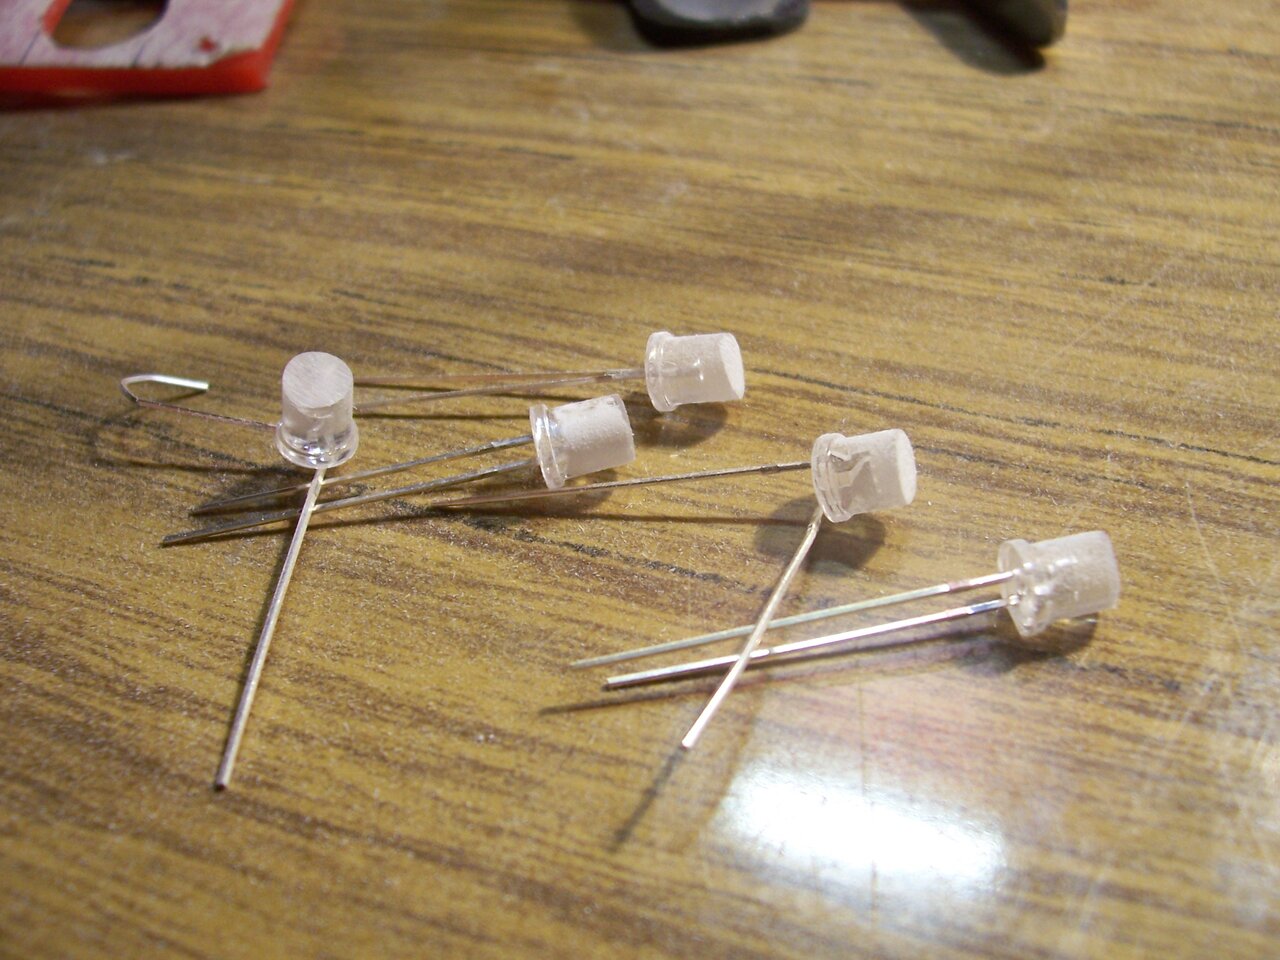
I had no disperse LEDs around, so I had to make some - by sanding them in front the light is not focused any more and lights far larger area:
Hot glue in action and all LEDs are fixed in their places:
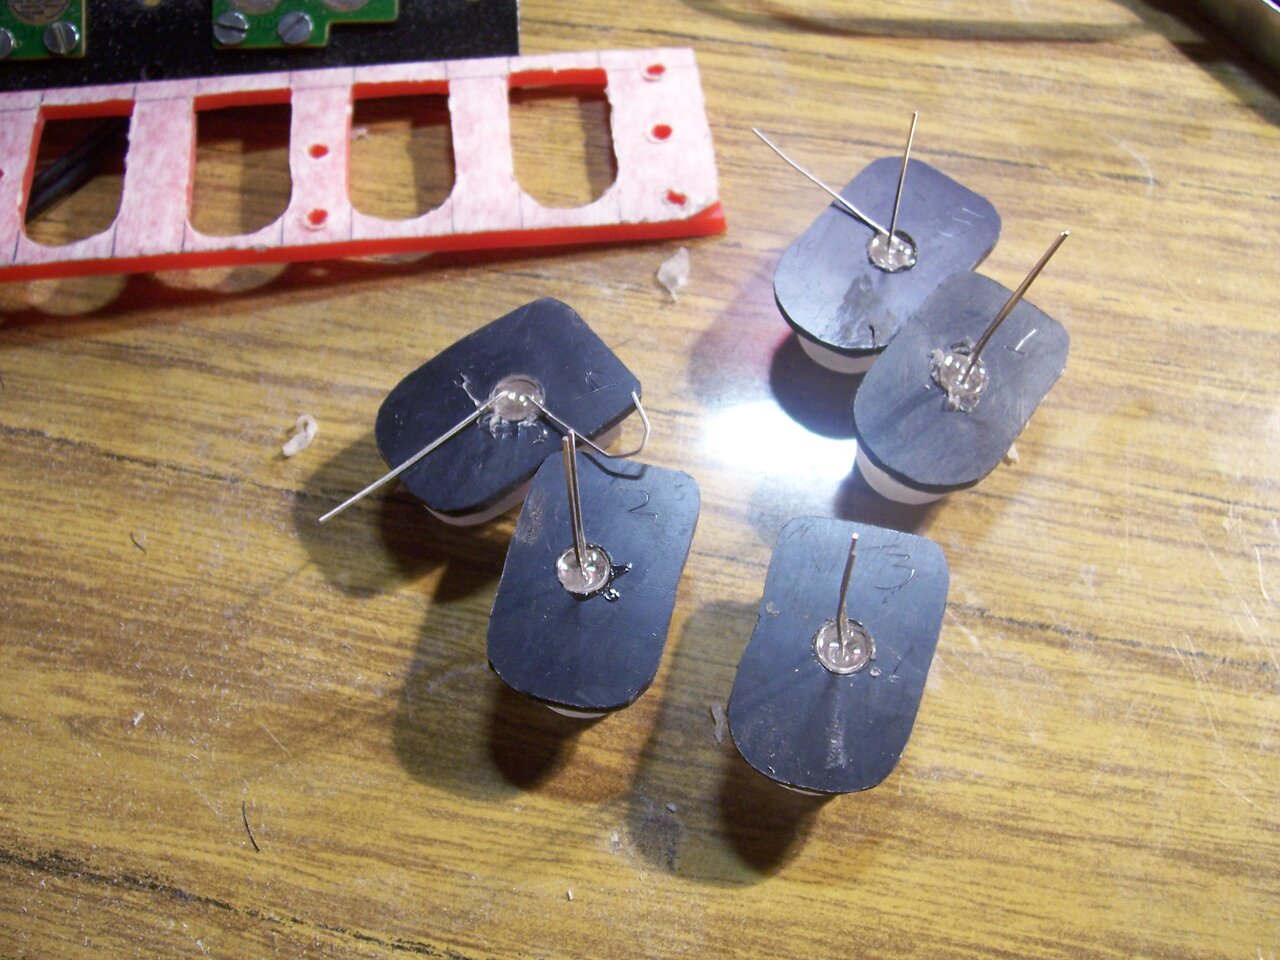
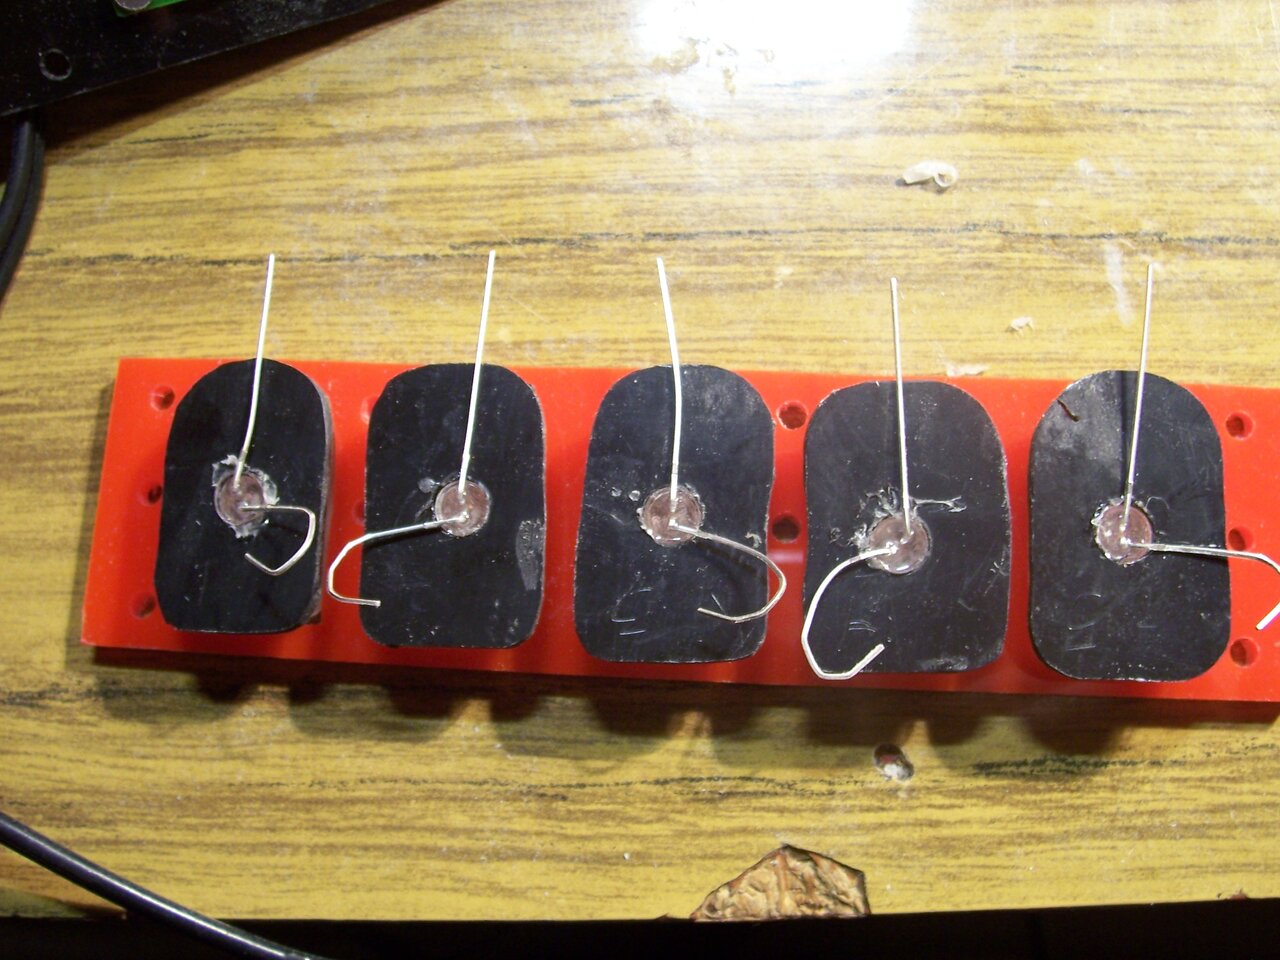
The straight lead will be soldered to +5V from the USB, and the curved one will contact with the metal plate, which acts as an anode:
And the hot glue gun will have part in making the back plate - I used it to fix into place the contact rubbers:
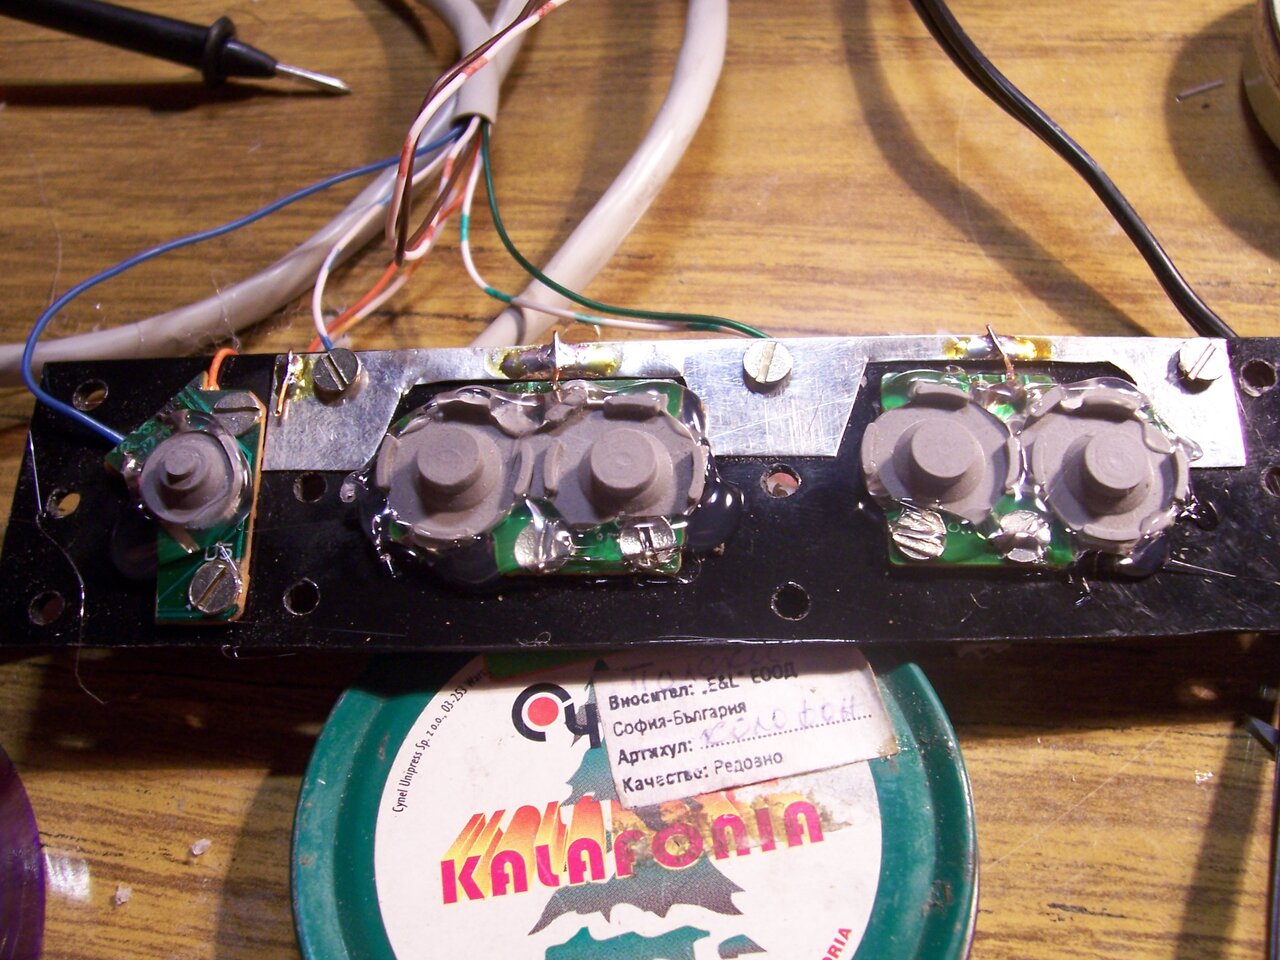
And this is the complete button bar: